Showing posts with label outdoor project. Show all posts

Friday, March 16, 2012

knotty pine planks do not a garden make


“Two old planks of knotty pine
And a couple of nails poke right on through”

After assembling the framework for a new raised bed this week, I could not get that David Byrne and Dirty Projectors song out of my head. Not an altogether bad thing. I nailed together four discarded 2x6’s, which were of three different lengths. It won’t be the prettiest garden bed, but should be just fine for growing veggies (once I get it filled with dirt). 

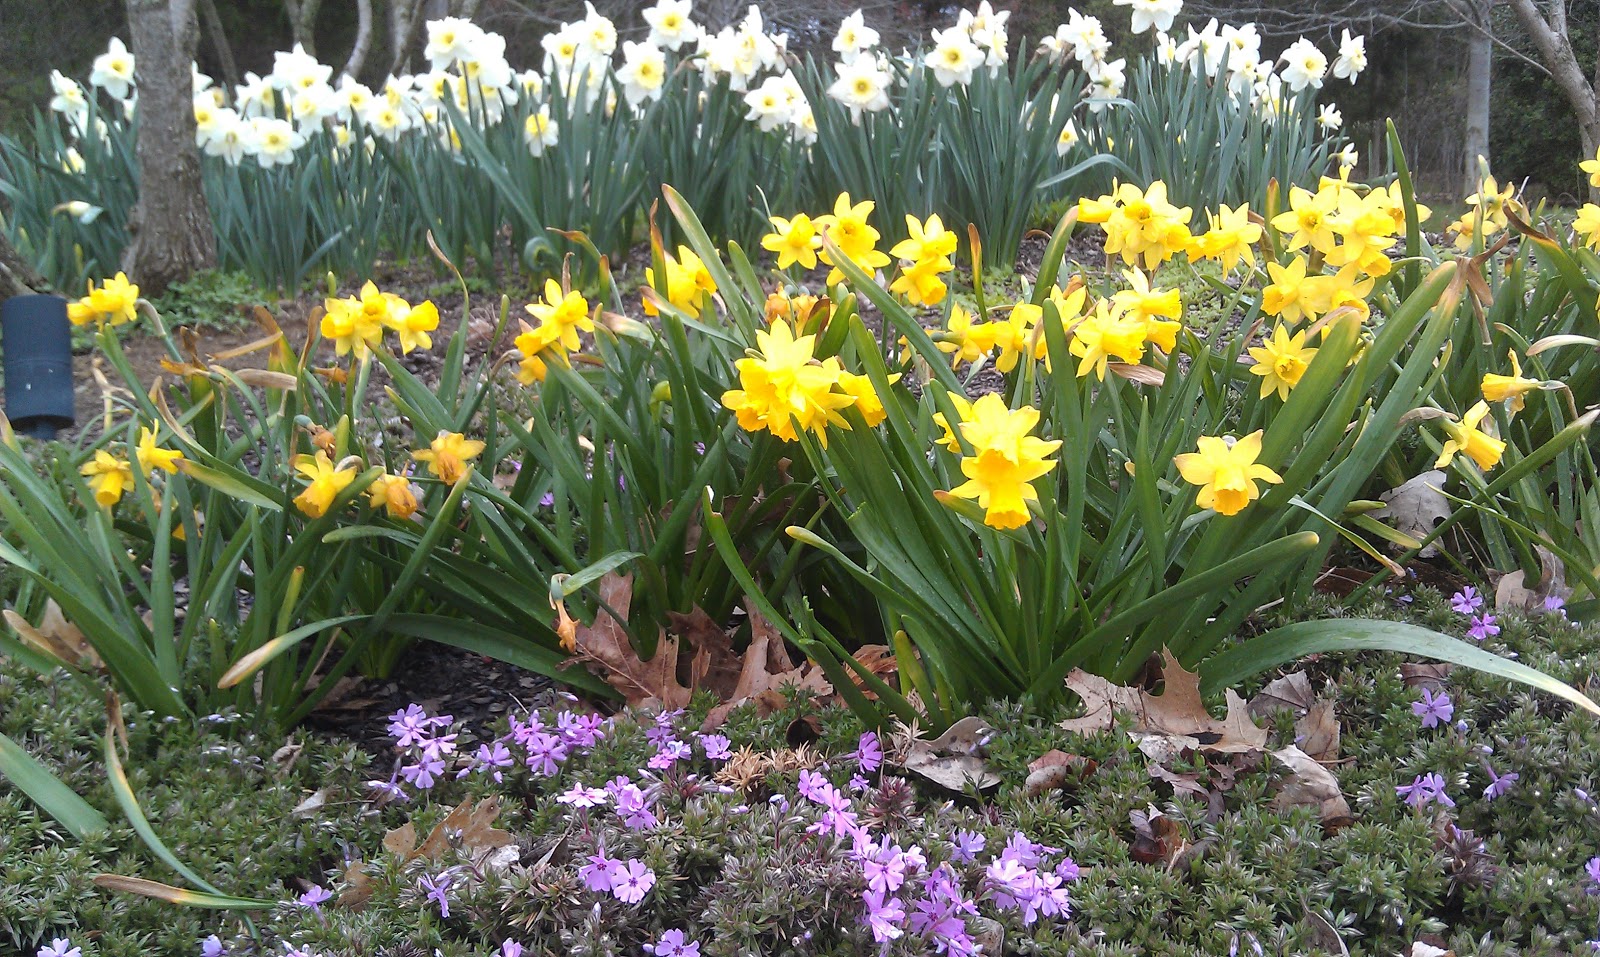
It’s been unseasonably warm (eighty-degree days) and continues to storm several times a week here. The Cherry trees, Redbud, Carolina Jessamine, Hyacinths, and Phlox have added their blooms to the chorus of spring flowers. And my allergies are going nuts. Because the pollen count is usually highest in the morning, I try to work outside in the afternoons.

Ginger, Peony, and Baptisia are all bursting out of the ground, with quite unusual looking foliage. Now is a good time to place some sort of support on top of your peonies in anticipation of large, heavy blooms in the future. Sow seeds of cool-season veggies like lettuce, snap peas, carrots, beets, and spinach.

Evergreens such as yews and boxwoods can be pruned now. But please do not use an electric hedge trimmer on your boxwoods; that landscape sin is akin to Crape murder in my book. Best results (aesthetic and horticultural) are achieved by selective pruning instead of shearing. Select the longest branches and trim them out with pruners, opening up small holes on the periphery of the foliage to let in light and air.

Saunders Brothers is a fantastic source of information about all things boxwood.


Tuesday, February 15, 2011

How to Make a Wire Trellis for a Brick Wall


Whether you want to cover up an unsightly façade or add another dimension to your outdoor space, a vine-covered brick wall is an easy project that will enhance any garden area. Choose your vine carefully though, as some vines grow aggressively and can over-take a structure quickly. For these reasons, two species to avoid are Ivy (Hedera sp.), and Wisteria (Wisteria sp.).

Proper vine selection will help determine the ultimate success of your project. It may be preferable to have foliage year-round but many vines with big, showy blooms are either deciduous plants or annuals. Also, take into consideration sun exposure, water requirements, and winter hardiness when selecting a vine.

You will need:
1 ½” fluted masonry nails
Hammer
Safety goggles
Measuring tape or ruler
Steel wire (I used 28-gauge picture hanging wire)
Pliers to cut the wire (scissors will work too)
Natural twine
Vine for planting

Instructions:
Pick a starting point on the wall a few feet up from the ground, directly behind the vine’s location. (The vine should be planted as close as possible to the wall.) Hammer masonry nail approximately ½” into the mortar joint so that 1” of the nail is exposed. (Wear safety goggles when hammering to prevent eye injury.)

Measure 12” above and below the nail (or roughly 4 brick courses) and drive nails or mark locations with painters tape to nail later. Measure 12” to either side of the three nails and continue with this grid pattern as desired for the height and width of the space and/or expected size of the vine. When all of the nails are in place, begin tying the wire.

Start at the highest point above the vine; tie the wire in a knot over the nail. From that nail, shift down and to the left (approximately 45-degrees); loop the wire around the next nail twice and continue looping nails in that direction to the last nail and tie another knot.

Repeat this design by connecting all of the adjacent nails above and below the strung wire so that when finished, there are multiple parallel strands of wire at a 45-degree angle from the center. Trim excess wire from all knots.

Knot the wire around top nail once more and replicate these steps on the right side, achieving a mirror of this pattern to the right of the vine. Trim excess wire from all knots.

After planting, begin weaving the vine’s branches through the wire supports. Periodically attach stems to the wire support with double-knotted twine. Trim excess twine from all knots. When finished, mulch the vine and water thoroughly.

Wednesday, December 29, 2010

garden addition: fire pit


My blog had a drought the entire fall season, but that doesn't mean I wasn't doing anything in the garden; I was just too busy to write about all that was happening! One of the garden projects we tackled was the addition of a fire pit.

This ended up being a fairly simple and economic project. Supplies purchased at the Home Depot, totalling $50, included: river pebbles, lava rock, and the 'decorative' concrete block surround. I already had a shovel at home, and Whit provided 95% of the labor.

We did not use 'fire-rated' concrete blocks, rather we opted for the type used mainly in constructing decorative retaining walls. Not being 'fire-rated' means a few pieces may crack over time and need to be replaced. The angled edges of the concrete block made the circle easy to achieve without any gaps in the border.

The location we selected is in the middle of our tiny back yard, which is slightly sloped. (Any fire pit should be at least 10' away from exterior walls) Our fire pit is approximately 2.5' in diameter, with a portion set into ground to accommodate the slope while keeping the top of the concrete surround level.

Once the 10 concrete blocks were placed along the edge, Whit dug down several more inches and we started filling in the pit with one bag of river pebbles followed by one bag of the larger lava rock. The lava rock was purely an aesthetic choice, but I think adds some authenticity.

The final elevation of the rocks sits several inches below the top of the concrete blocks. The fire pit works great! But if Whit had to do it over again, I think he would have made the pit even deeper, to accommodate larger pieces of wood. We will probably add another course of concrete blocks to achieve the same affect.

With the addition of a few camping chairs, our new outdoor entertaining area was complete! Of course, Whit wishes that our fire pit were larger (probably a guy thing). We were limited mainly by space and proximity to the house. I think the size is just perfect.

We had several fires throughout the fall and in to the winter. My hope is that this outdoor space will be used year-round. It will be interesting to see how the moss holds up to the foot traffic and heat, since it is too shady to grow grass in the back yard.